
Easy Crispy Grilled Cheese Fingers: Quick School Lunch Idea (Quick & Simple Recipe)
Golden toasted bread stuffed with melted cheddar and mozzarella cheese, cut into slender dipping fingers. An easy, kid-approved lunchbox favorite!
Introduction
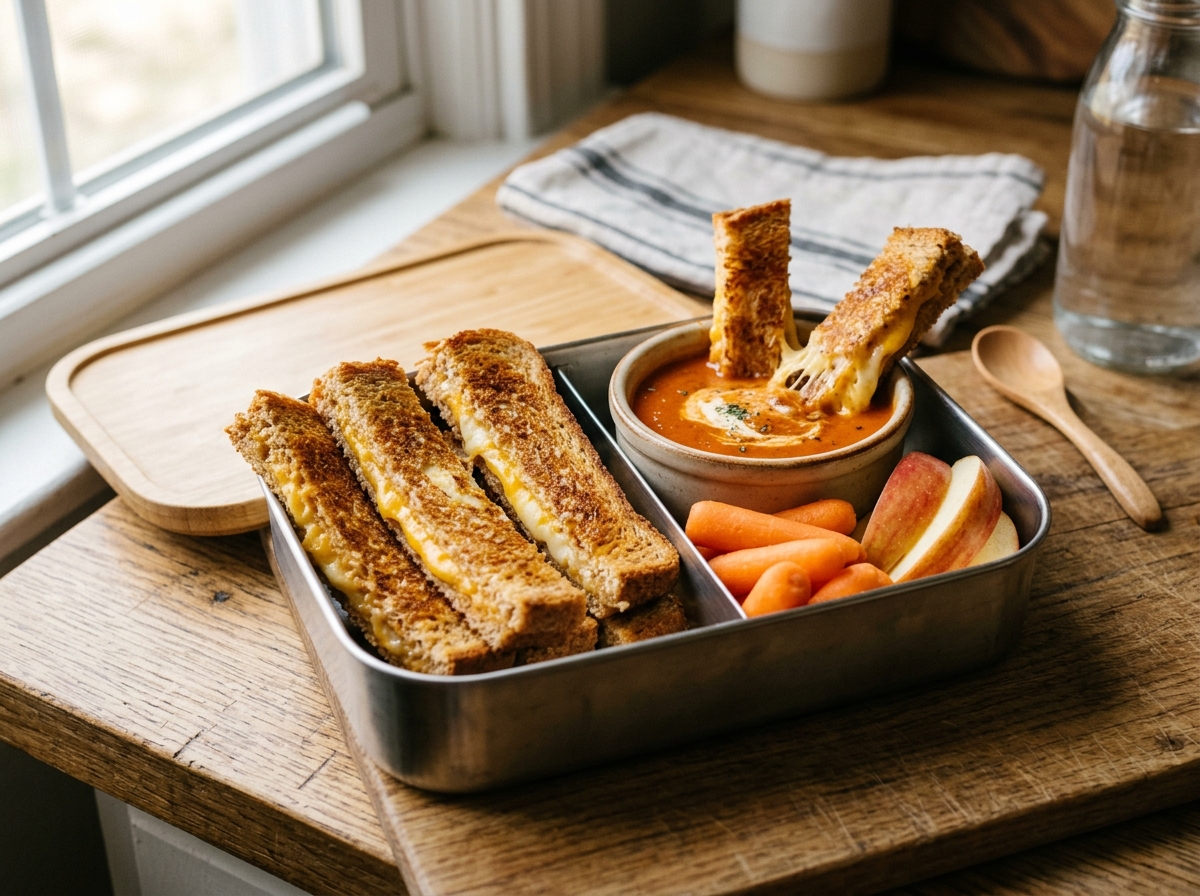
Grilled Cheese Fingers are a fun, kid-approved twist on the timeless comfort food classic. Made by toasting golden buttered bread filled with a rich blend of melted cheddar and mozzarella cheese, these warm sandwiches are sliced into slender, easy-to-hold dipping strips. Paired with a side of warm tomato soup or ketchup dip, they make school lunchboxes both exciting and nourishing.
When exploring easy Back to School Lunch Ideas, grilled cheese fingers are an unbeatable family favorite. Whole sandwiches can feel bulky or messy for younger children trying to eat quickly between class periods. Slicing the sandwich into neat finger strips allows little hands to easily grasp, dip, and eat without messy cheese spills or bread tearing.
The preparation is delightfully simple and takes only 10 minutes on a stovetop skillet. By cooking over medium-low heat with a gentle layer of butter, the bread develops an irresistible golden crunch while the cheese melts into a stretchy, gooey center. Let them rest briefly on a cutting board, slice into fingers, and pack alongside crunchy veggie sticks or fresh fruit for a well-balanced meal.
Why this is a Great Meal
Simple, wholesome, and delicious, Grilled Cheese Fingers provide essential energy and nutrients to keep children fueled and content throughout their school day:
1. Bone-Building Calcium & Protein: The dual cheese blend delivers 12 grams of quality dairy protein and rich calcium vital for growing bones and strong teeth. 2. Perfect Handheld Dipping Size: Slender finger strips make eating interactive and fun, encouraging kids to finish their entire lunch without fuss. 3. 10-Minute Morning Prep: Uses basic kitchen pantry staples with quick skillet cooking, making it an effortless option for busy parents on rushed weekday mornings. 4. Guaranteed Empty Lunchbox: The classic combination of buttery toasted crust and gooey melted cheese is a proven favorite among children of all ages.
Instructions
- 01
Butter Bread: Lay the bread slices on a clean cutting board. Spread softened butter evenly on one side of each slice.
- 02
Layer Cheeses: Turn 2 slices buttered-side down. Distribute the shredded cheddar and mozzarella evenly across the bread. Sprinkle with a tiny pinch of garlic powder if desired. Top with the remaining slices, buttered-side facing up.
- 03
Pan Grill: Place a non-stick skillet over medium-low heat. Place sandwiches in the skillet and cook for 3-4 minutes until the bottom turns golden-brown and crisp. Carefully flip and cook for another 2-3 minutes until the cheese is completely melted.
- 04
Rest and Slice: Transfer the grilled cheese to a cutting board and let rest for 1 minute so the melted cheese sets. Cut each sandwich lengthwise into 3 equal finger strips.
- 05
Pack and Serve: Arrange the grilled cheese fingers inside a school lunchbox alongside a small dipping container of tomato soup or ketchup, apple slices, and baby carrots.
- ✦Cook on medium-low heat: Gentle heat ensures the cheese melts completely before the bread gets too dark.
- ✦Rest 60 seconds before slicing: Letting the sandwich rest prevents the hot melted cheese from spilling out when cut.
- ✦Cool slightly before packing: Allow fingers to cool for 2 minutes before closing the lunchbox container to prevent condensation from softening the crust.
Need Metric or Gram Weights?
Convert cup measurements to grams using ingredient-specific density factors.
Need a Quick Pantry Swap?
Find tested substitutions for dairy, eggs, and seasonings without compromising flavor.
Easy Variations
Ham & Cheese Fingers
Add a thin slice of smoked chicken or turkey ham between the cheese layers before toasting.
Spinach & Pesto Cheese Fingers
Spread a thin layer of basil pesto and baby spinach leaves inside the sandwich before grilling.
Air Fryer Grilled Cheese Fingers
Air fry the assembled sandwich at 360°F (180°C) for 6-8 minutes, flipping halfway until golden and melted.
Frequently Asked Questions
Q: How do I keep grilled cheese fingers crisp in a lunchbox?
A: Let the sandwich cool on a cutting board for 2-3 minutes so steam escapes before packing into the lunch container.
Q: What cheese combination is best?
A: Combining sharp cheddar (for rich flavor) with mozzarella (for creamy texture and cheese pull) makes the best grilled cheese fingers.
Q: Can I use gluten-free or multigrain bread?
A: Yes! Multigrain, whole wheat, brioche, or gluten-free bread all toast into wonderfully crispy finger strips.
Nutrition
Approximate values — meant as a guide, not a verdict.
You may also love
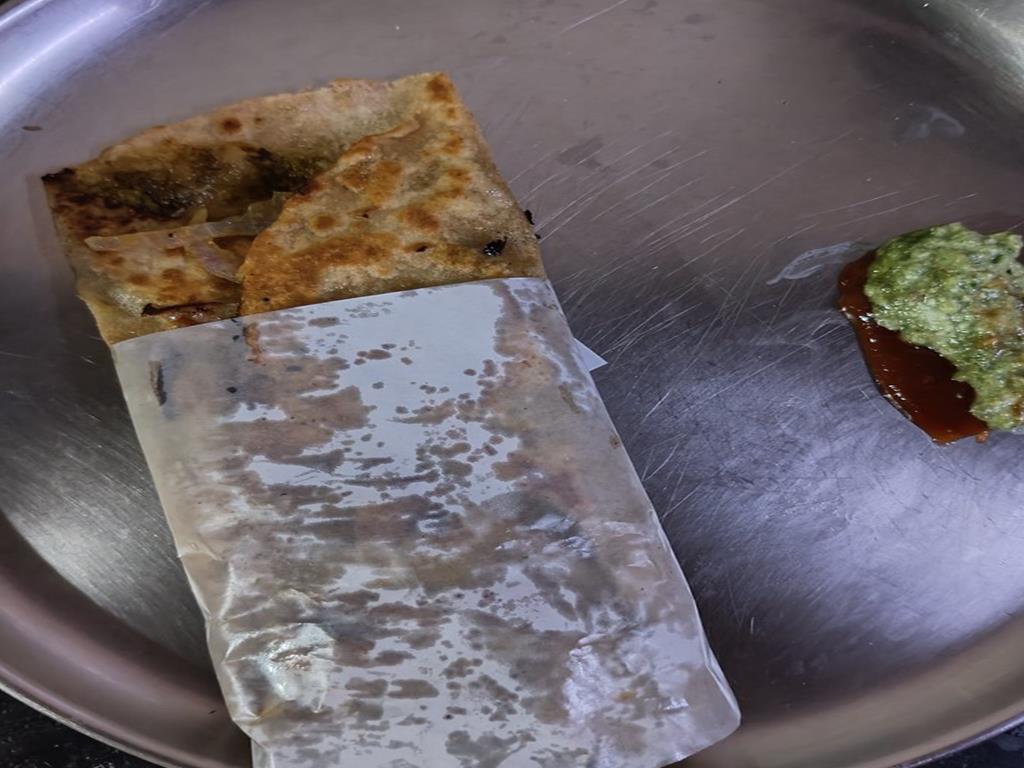
High-Protein Egg Paratha Roll: A Filling and Protein-Rich Breakfast for Work (Quick & Healthy Recipe)
Learn how to make an egg paratha roll, a filling, protein-rich, and easy breakfast recipe ready in just 10 minutes. Perfect for busy work mornings.
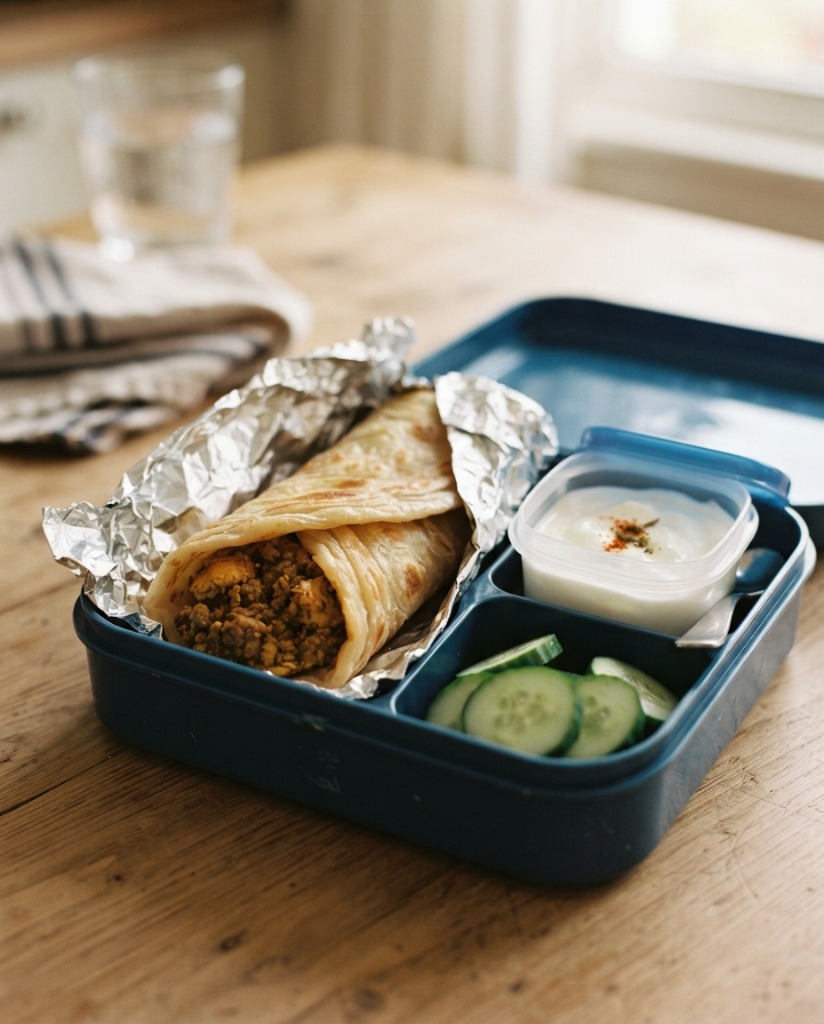
Keema Paratha Bites (Mini Spiced Mince Lunchbox Bites)
Tender, mildly spiced minced chicken or beef stuffed inside crisp, golden mini paratha bites. Perfectly sized for kids' lunchboxes and snacking.
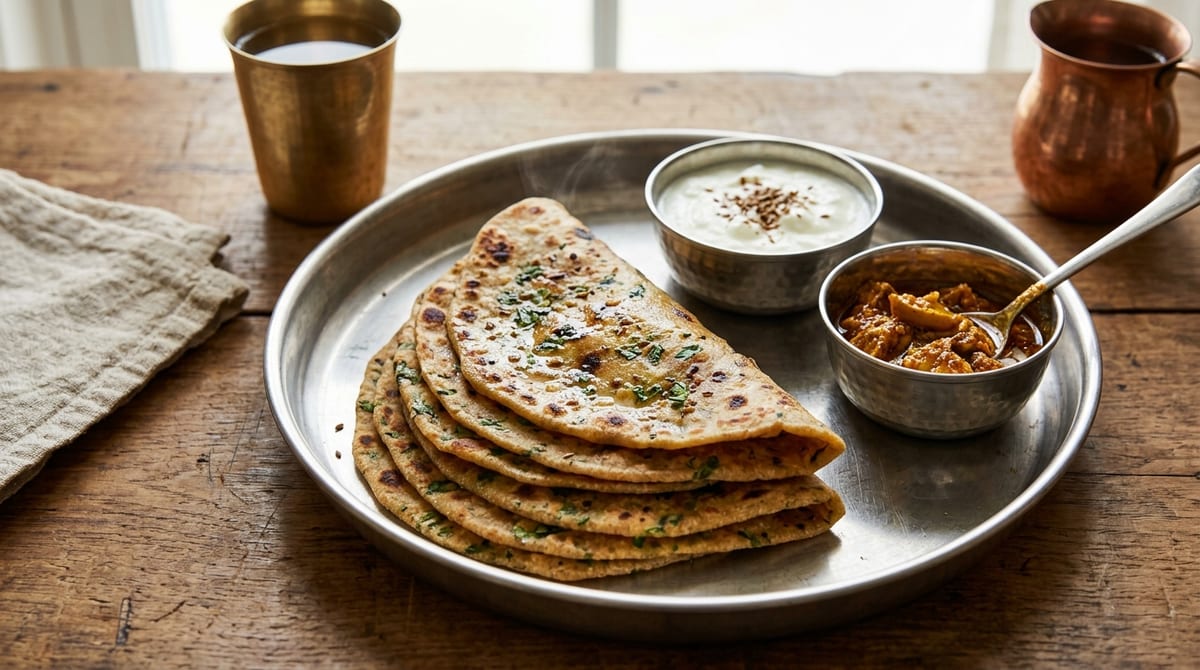
Methi Paratha with Yogurt Dip (Mild Fenugreek Flatbread)
Soft, aromatic whole wheat methi parathas kneaded with fresh fenugreek leaves and mild spices, cut into lunchbox triangles with cool yogurt dip.