
Easy Mary Berry Cheese Straws Recipe – Easy & Crispy Cheddar Cheese Straws (Quick & Simple Recipe)
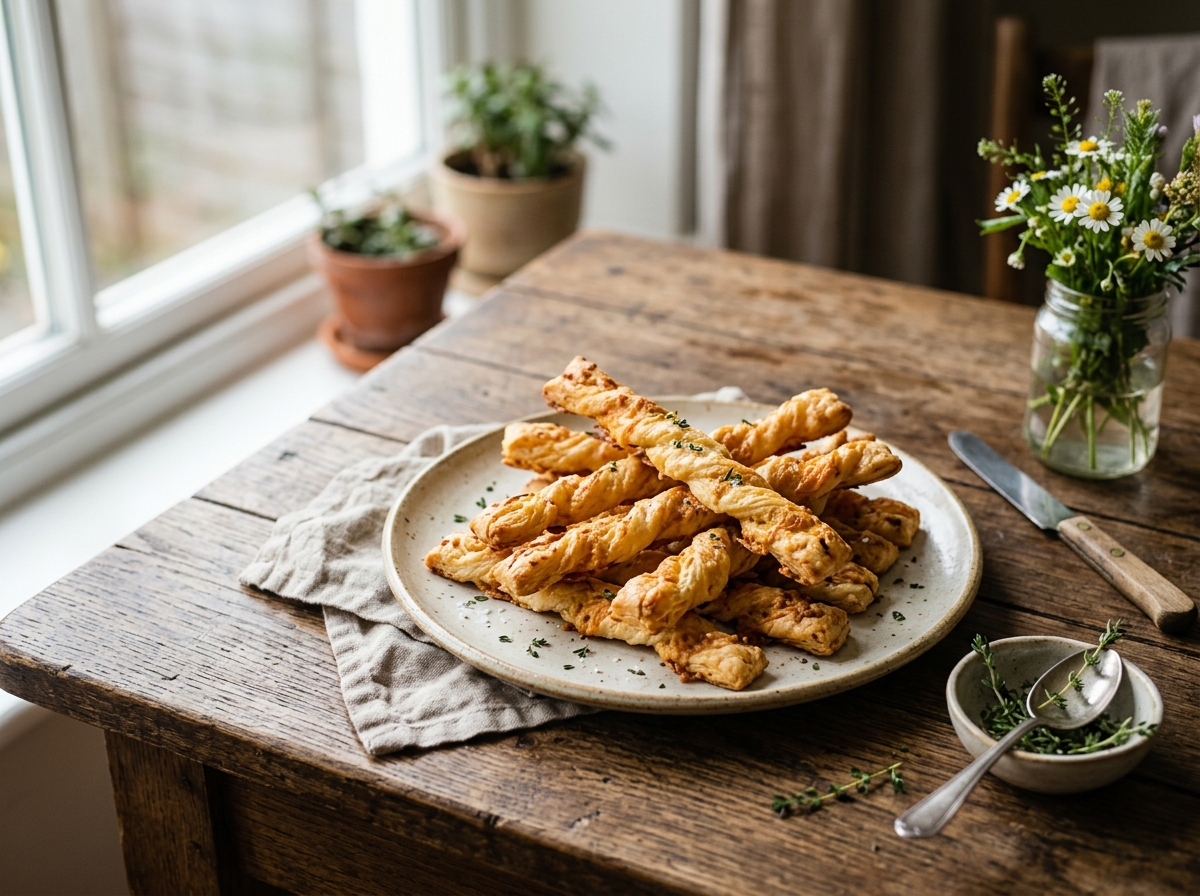
Mary Berry cheese straws recipe is one of the easiest and most loved British snacks, made with buttery pastry, sharp cheddar cheese, and a light hint of mustard and cayenne pepper. Crispy, flaky, and ready in under 30 minutes, these cheese straws are perfect for parties, tea time, or whenever you want a quick homemade snack.
Why this is a Great Meal
Why You'll Love This Cheese Straws Recipe:
• Simple ingredients, easy to follow. • Ready in about 30 minutes. • Crispy, cheesy, and buttery texture. • Perfect for parties, picnics, and holidays. • Can be made ahead and stored easily.
Instructions
- 01
Step 1: Prepare the Oven — Preheat your oven to 200°C (180°C fan / Gas Mark 6). Line two large baking trays with non-stick baking paper.
- 02
Step 2: Make the Dough — In a food processor, add the cold butter, flour, semolina, mustard powder, cayenne pepper, and a pinch of salt. Pulse until the mixture looks like fine breadcrumbs.
- 03
Step 3: Add the Cheese — Add the grated cheddar, parmesan, and the beaten egg. Pulse again for a few seconds until the dough just comes together. Add a little milk only if the dough feels too dry.

- 04
Step 4: Shape the Straws — Turn the dough onto a floured surface and divide it into two equal parts. Shape each portion into a rectangle and roll it out to about 8mm thickness.
- 05
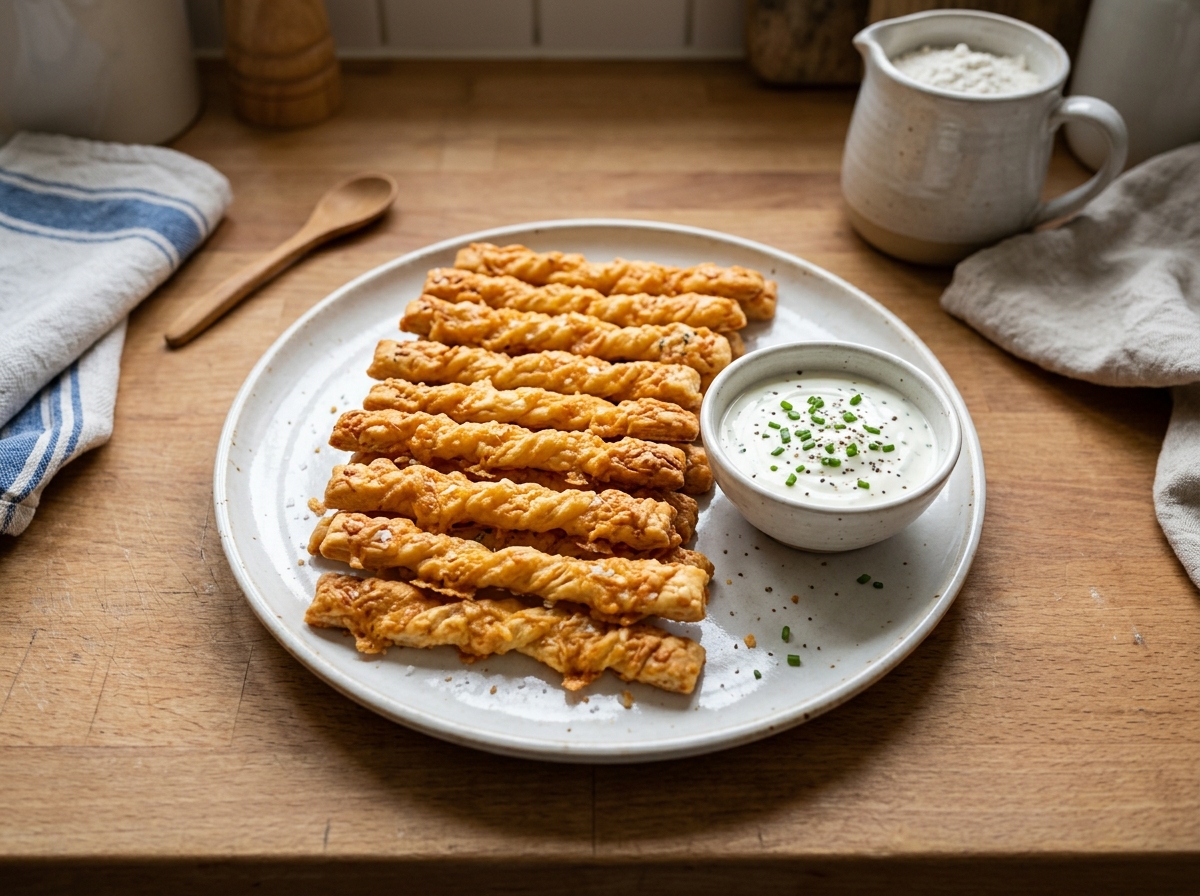
Step 5: Cut the Straws — Cut the rolled dough into thin strips using a sharp knife or pastry cutter. Twist each strip gently for the classic cheese straw look.
- 06
Step 6: Bake — Place the straws carefully on the prepared baking trays. Bake for 15–18 minutes, or until golden brown and crisp.
- 07
Step 7: Cool and Serve — Let the cheese straws cool completely on the baking tray so they firm up and become crunchy. Serve cold or at room temperature alongside your favorite dip.
- ✦Always use cold butter for a flaky texture.
- ✦Grate the cheese finely for even mixing throughout the dough.
- ✦Don't overwork the dough; mix just until combined to keep it light and tender.
- ✦Chill the dough for 10–15 minutes if it feels soft before rolling.
- ✦Store in an airtight container for up to 5 days.
- ✦Final Thoughts: This Mary Berry cheese straws recipe is a simple, reliable snack that turns out perfectly crispy every time. Whether you're hosting a party or just want a cheesy homemade treat, these cheese straws are always a hit.

Using a Different Baking Pan?
Convert between round, square, loaf, and rectangular pans with exact surface area math and batter scaling.
Missing an Ingredient?
Find kitchen-tested baking swaps with hydration and texture considerations.
Easy Variations
Smoked Paprika & Cheddar Straws
Replace cayenne with 1 tsp smoked paprika for a smoky, Spanish-inspired warmth.
Gruyère & Herb Straws
Swap cheddar for grated Gruyère and add 1 tbsp finely chopped fresh rosemary or thyme.
Seeded Cheese Straws
Brush rolled strips with a little egg wash and sprinkle with poppy seeds or sesame seeds before twisting and baking.
Frequently Asked Questions
Q: Can I use puff pastry instead of homemade dough?
A: Yes, ready-made all-butter puff pastry can be used as a quicker alternative, though the texture will be slightly different from the classic crumbly, buttery version.
Q: Can I freeze cheese straws?
A: Yes, you can freeze the unbaked dough for up to 3 months. Thaw it in the fridge before rolling and baking.
Q: What cheese works best for cheese straws?
A: Mature cheddar gives the strongest flavor, and adding parmesan brings extra depth and a savory nutty taste.
Q: Why did my cheese straws turn out soft instead of crispy?
A: This usually happens if the butter warms up before baking or if the straws are underbaked. Keep the dough cold and bake until deep golden for the best crunch.
Nutrition
Approximate values — meant as a guide, not a verdict.
You may also love
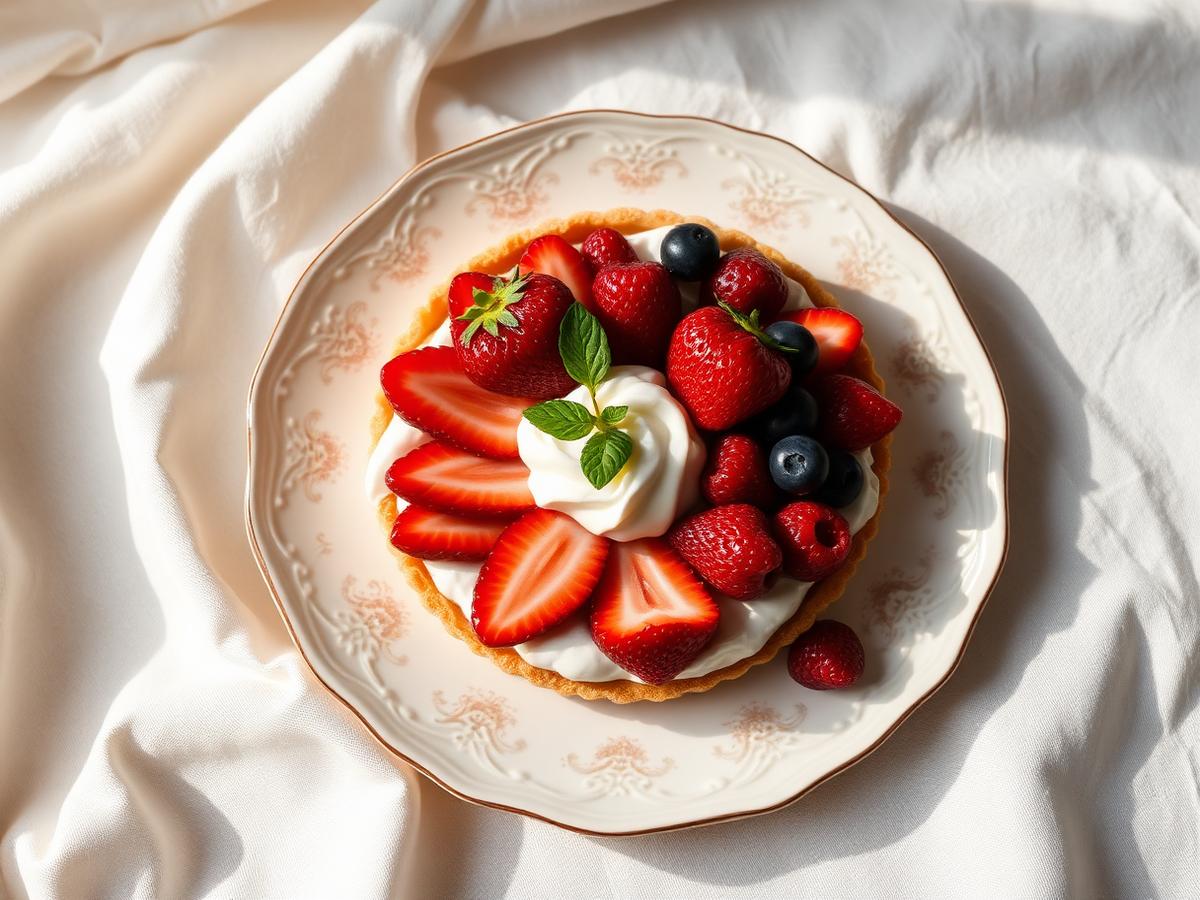
Easy Summer Berry Tart with Whipped Mascarpone (Quick & Simple Recipe)
A buttery shortcrust filled with vanilla mascarpone and crowned with seasonal berries.
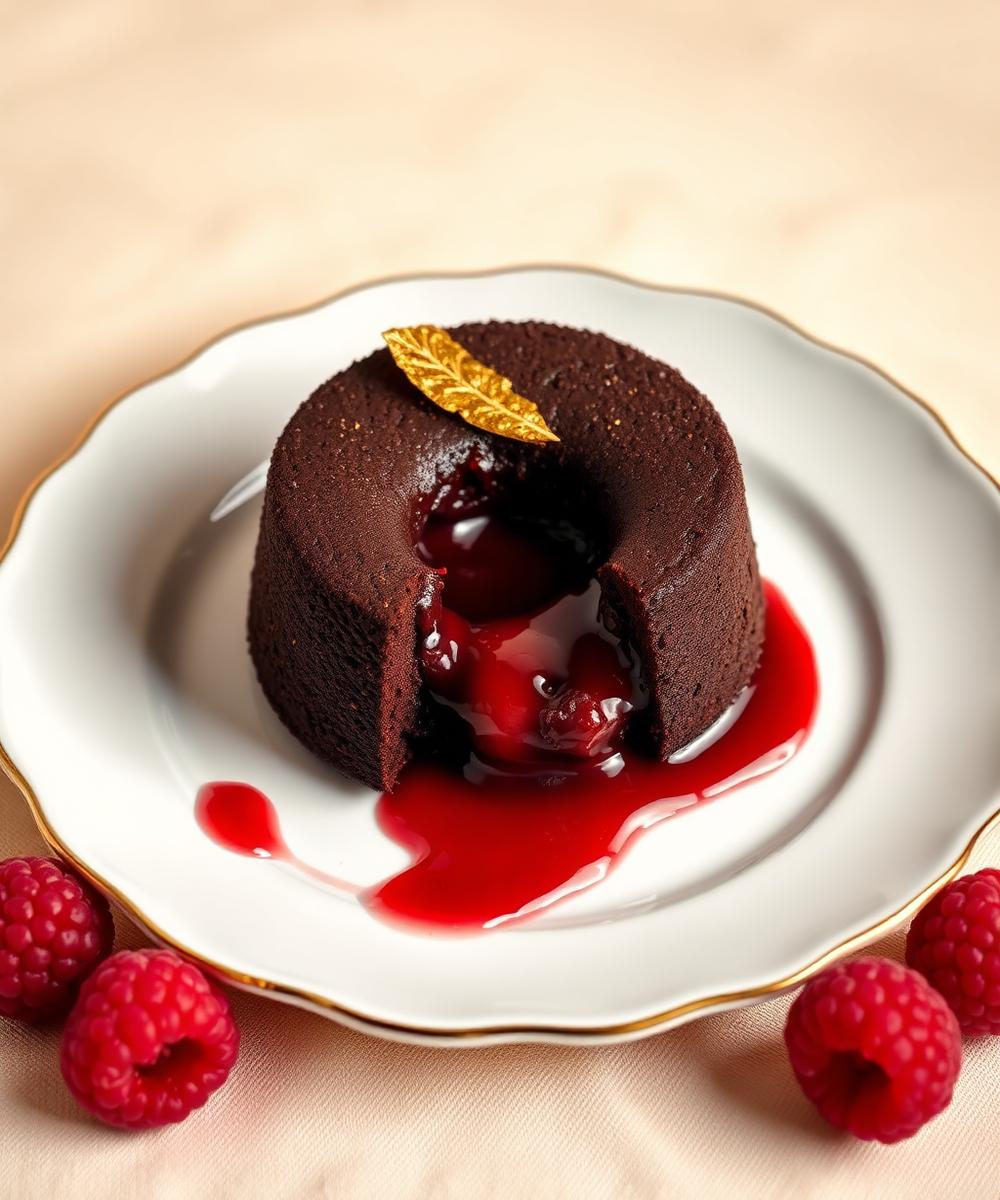
Easy Molten Chocolate Cake with Raspberry (Quick Dessert Recipe)
A restaurant-worthy dessert with a flowing dark chocolate centre.
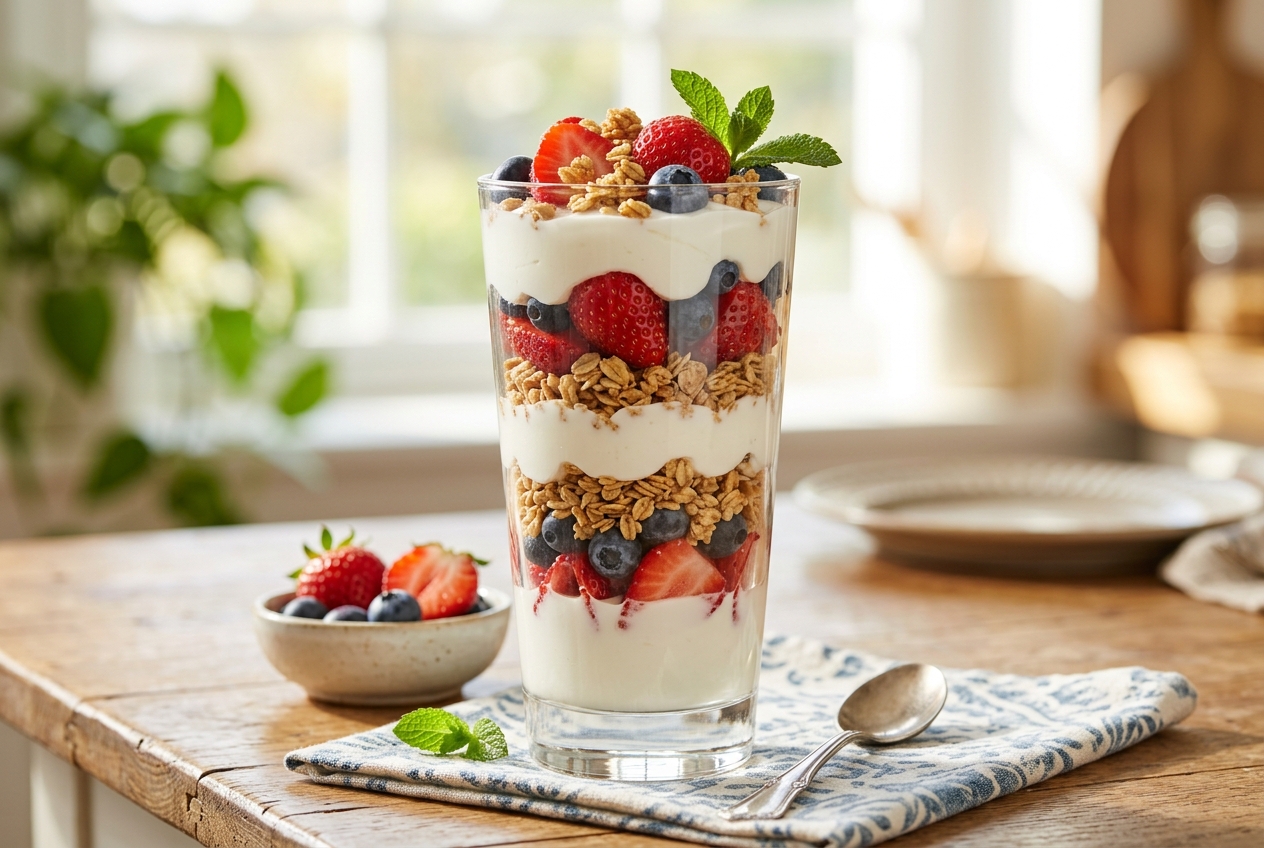
Easy Greek Yogurt Berry Parfait (Quick & Simple Recipe)
Vibrant, high-protein dessert or breakfast featuring alternating layers of thick Greek yogurt, sweet fresh strawberries and blueberries, and crunchy golden granola.